

Are you tired of going to the salon to get hair treatments? Or are you looking for more affordable options to get luscious, smooth, and shiny hair? You may take a deep breath as this article will help you save your money and get the hair that you desire. A homemade keratin treatment might be the secret to it. Keratin treatments are known for their ability to transform frizzy, damaged hair into silky tresses.
Importance Of Keratin

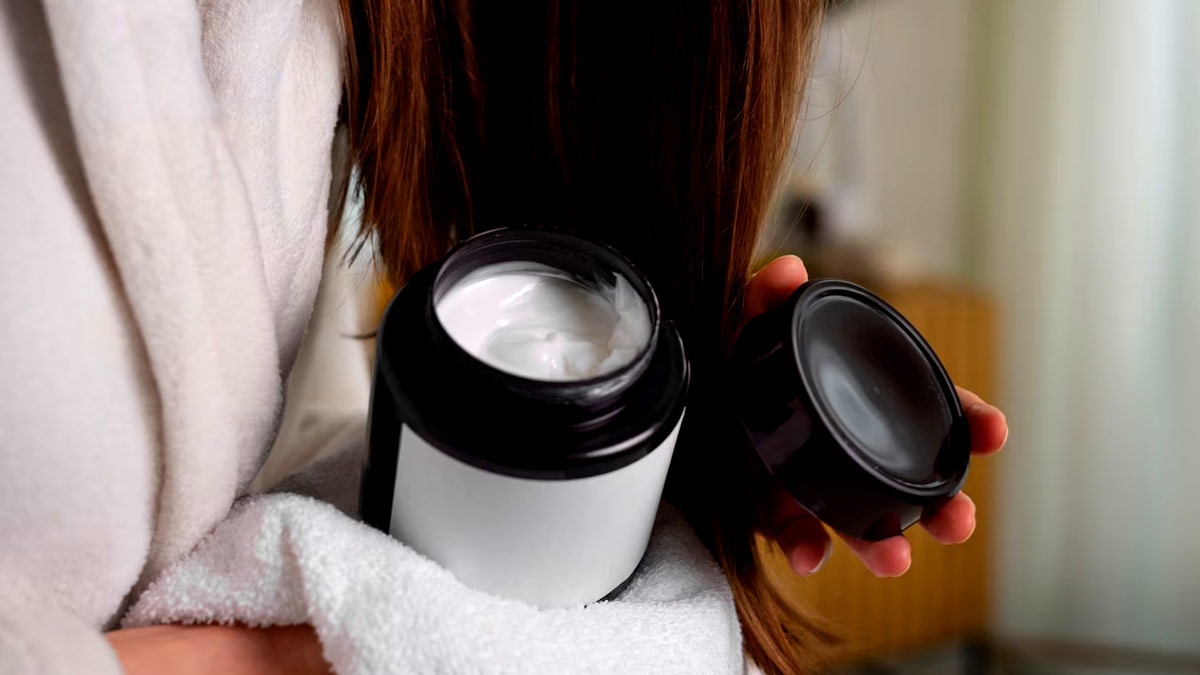
Keratin, a protein naturally found in your hair, skin, and nails, plays an important role in maintaining the structure and strength of your hair. Over time, factors, such as heat styling, chemical treatments, and environmental damage can deplete your hair's natural keratin levels, leading to frizz, dryness, and breakage. Keratin treatments, whether done at a salon or home, involve the application of a special formula that infuses the hair with additional keratin, helping to repair and strengthen each strand.
Also Read: Do You Pluck Your Grey Hair? Expert Explains If It Turns The Rest Grey?
Benefits of a Keratin Treatment

- Frizz Control: One of the most significant benefits of a keratin treatment is its ability to eliminate frizz. It creates a protective barrier on the hair shaft, preventing humidity from causing your hair to puff up.
- Enhanced Shine: Keratin treatments provide a natural shine to your hair, making it look healthier and more vibrant.
- Improved Manageability: Taming unruly hair becomes much easier after a keratin treatment. Your hair will be more manageable, requiring less time and effort to style.
- Reduced Styling Time: With smoother hair, you'll spend less time and heat on styling, reducing the risk of heat-related damage.
- Long-Lasting Results: Depending on the treatment, the results can last from a few weeks to several months, making it a cost-effective solution for those looking to maintain smooth, shiny hair.
Also Read: Is Your Shampoo Causing Hair Loss? Watch Out For These Ingredients
DIY Homemade Keratin Treatment

Ingredients
- Coconut Milk: 1 cup
- Coconut Oil: 2 tablespoons
- Honey: 2 tablespoons
- Cornstarch: 2 tablespoons
- Apple Cider Vinegar: 1 tablespoon
Instructions
- Take a mixing bowl and combine coconut milk, coconut oil, honey, cornstarch, and apple cider vinegar. Keep stirring until you get a smooth, consistent mixture.
- Before applying the treatment, wash your hair thoroughly with a mild shampoo to remove any dirt, oil, or product buildup.
- Section your hair and apply the homemade keratin treatment evenly, starting from the roots and working your way down to the tips. Make sure every strand is coated.
- Cover your hair with a shower cap and use a hairdryer on low heat to warm your hair for about 15-20 minutes. This step helps the treatment penetrate the hair shaft.
- Leave the treatment on your hair for an additional 30-40 minutes. You can also leave it on overnight for maximum benefits, but be sure to protect your pillow with a towel or old t-shirt.
- After the waiting period, rinse your hair thoroughly with lukewarm water until the treatment is completely washed out. Follow with a sulphate-free conditioner.
- Finish with a final rinse of cold water to seal the hair cuticles and enhance shine.
- Style your hair as desired, either by air-drying or using heat tools. You'll notice smoother, shinier hair with reduced frizz.
Additional Tips
To maintain the results of your DIY keratin treatment, use sulphate-free hair products and avoid washing your hair too frequently. Also, minimise the use of heat styling tools and protect your hair from UV rays by wearing a hat or using products with built-in UV protection.
[Disclaimer: This article contains information for informational purposes only. Hence, we advise you to consult with your expert before using anything on your skin, especially if you are dealing with any hair condition.]


